What is it?
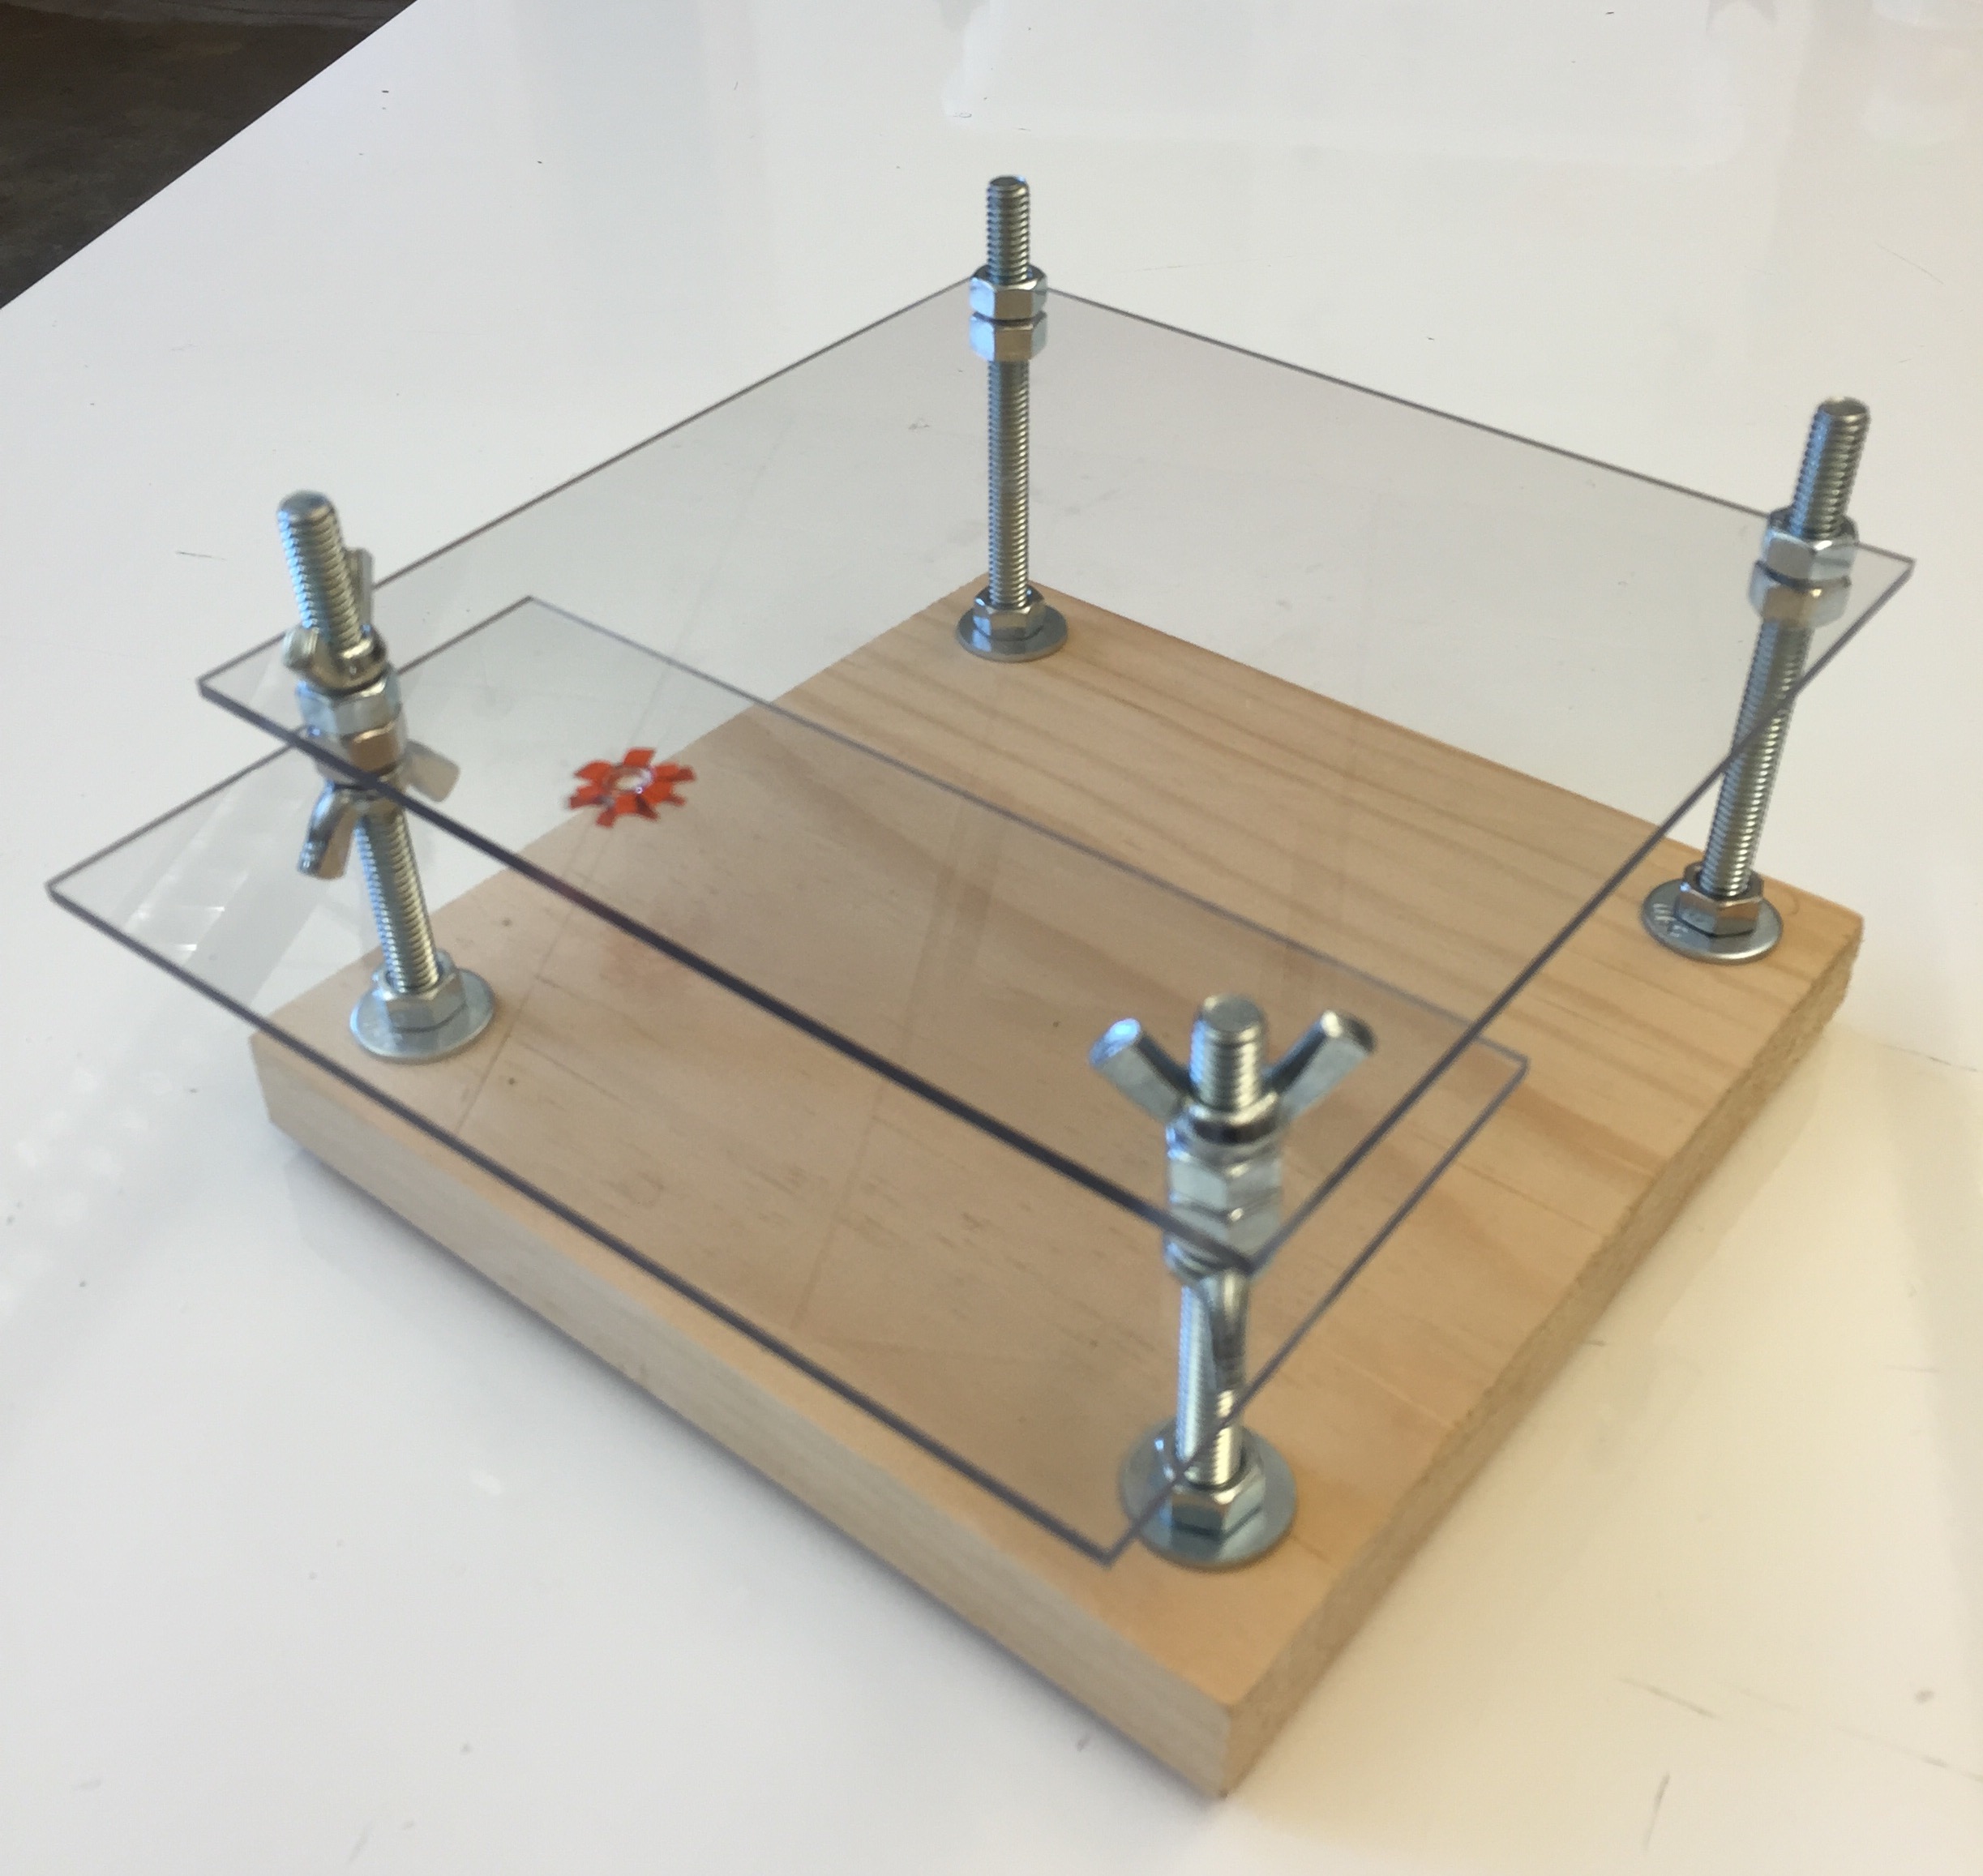
The device I built is a microscope designed for cameras like those that exist on smart devices (like an iPhone). The idea is that one could place their camera device (most likely a smartphone or an iPad) so that the lens of the phone lines up with a lens implanted in a piece of plexi glass. Below this piece of plexiglass is a smaller “specimen stage” piece that can be moved up or down in order to focus via adjustable wing nuts. One issue with this arrangement is that the camera has very little depth of field. Despite this it still does work as a basic microscope.
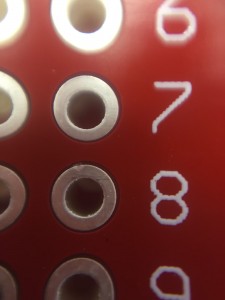
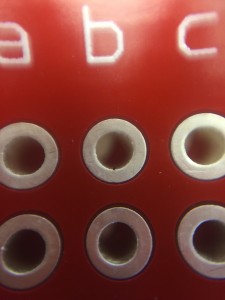
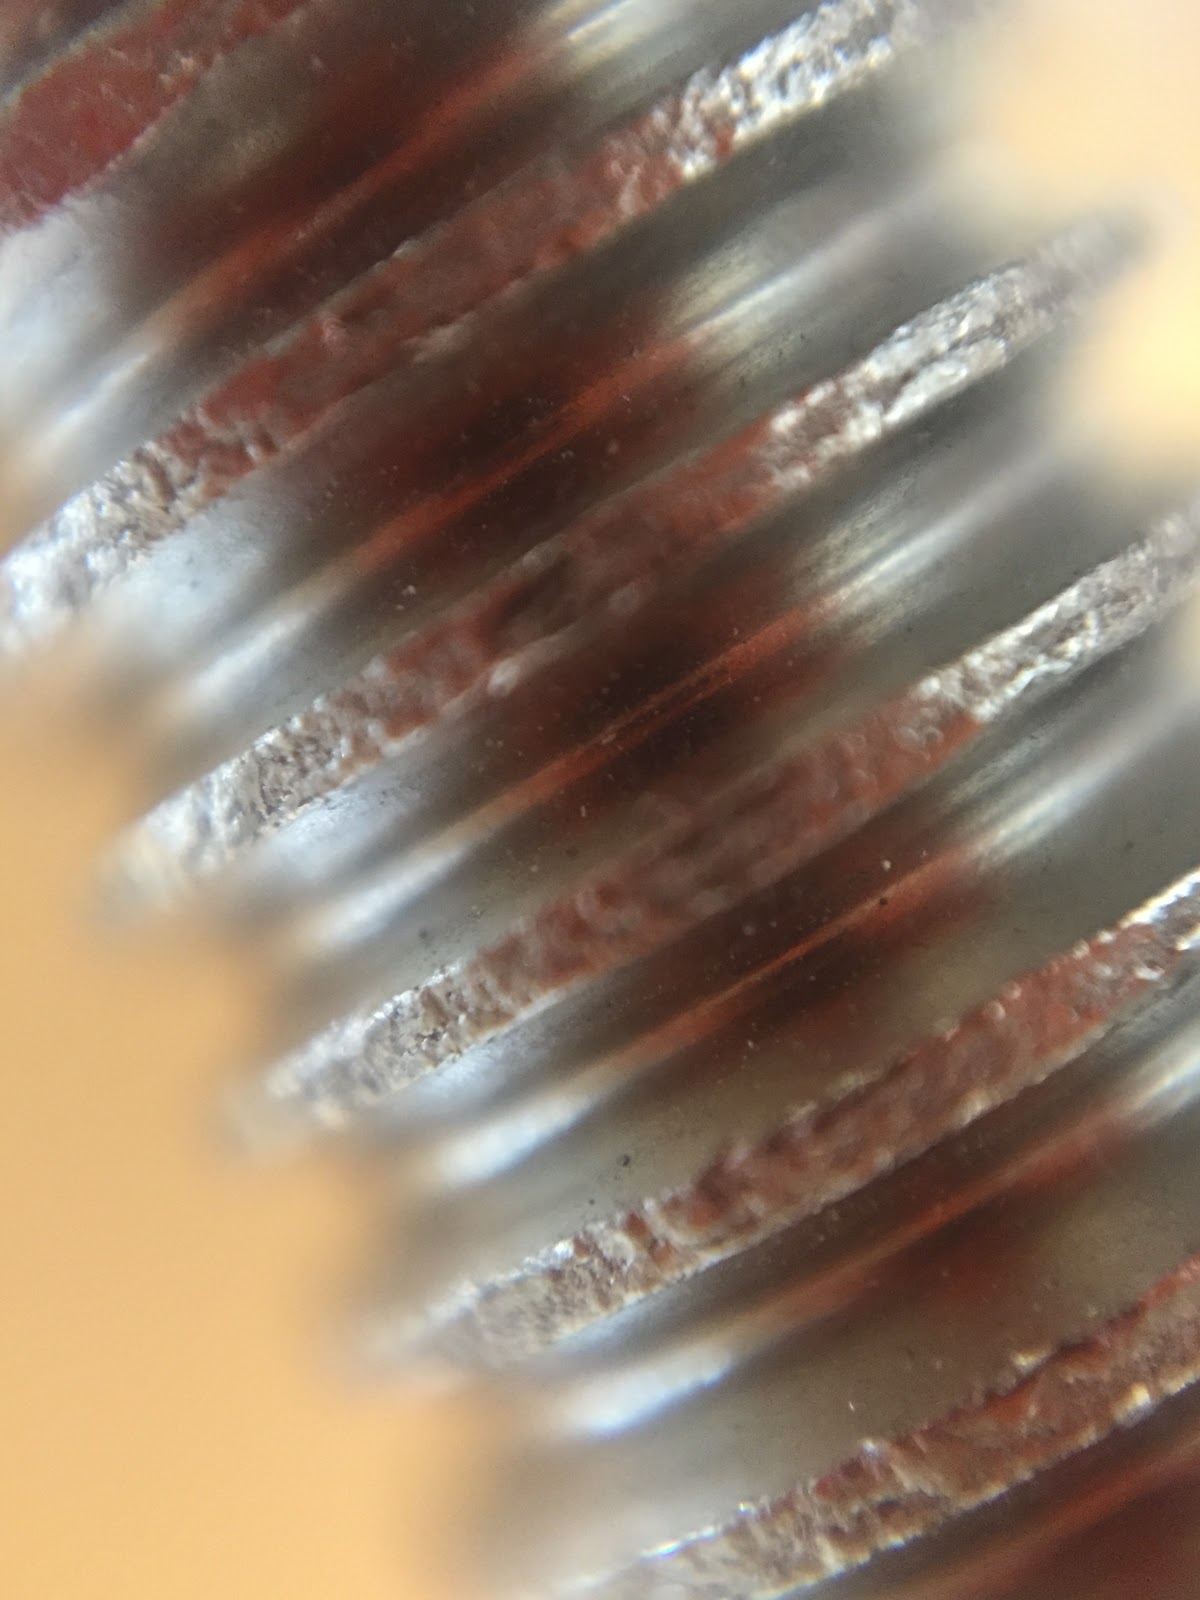
Here are some examples showing the small depth of field:


What could it be used for?
Since our school has gone one-to-one with iPads, these microscopes (or possibly a redesigned version using more powerful lenses) could be used by students in biology or chemistry classes to look at substances. I am sure there can be more applications, including in the arts (you can take some cool looking photos with this).
My personal favorite:
How to build it?
To build it I used a rectangular block of wood (size can vary, but should have a small height when laid flat), 1 piece of plexiglass the same length and width of the block of wood and another piece about half the size (for the specimen stage). To put these pieces together you need 3 or 4 carriage bolts and some wing nuts and hex nuts (be very careful that the nuts fit easily onto the carriage bolts). Finally, you need a small lens that is about the size of an iPhone camera. (The lens from a laser pointer works great.)
I drilled holes in all four corners of the block of wood and put the carriage bolts through these, using hex nuts to lock the bolts in place. I then put wing nuts on two of the bolts on the same side to provide a base for the specimen stage. These wing nuts are important as they allow one to change the height of the specimen stage with ease, allowing one to focus the microscope. To put the specimen stage on the microscope, I drilled a hole on both sides of the plexi glass so that it could fit through the carriage bolts. After here, one can decide what type of nuts they would like to use to lock the specimen stage in place and similarly lock the main plexiglass base in as well. Before placing the main plexiglass base on the device, a hole needs to be drilled slightly off center but above the specimen stage. The lens should be placed in this hole. Depending on the size of the lens, it may not fit into the drilled hole properly. There are many ways to compensate for this, but as a basic way which still allows the device to function properly one can roll a small piece of electrical tape into a cylinder that fits into the hole. Then, cut small slits on each side so that you can fold the tape over, sticking it to the plexi glass. This, if done properly, should allow the lens to fit into the hole fairly easily.
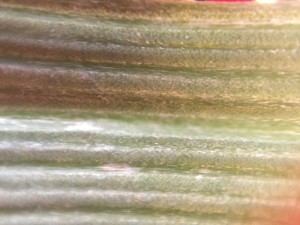
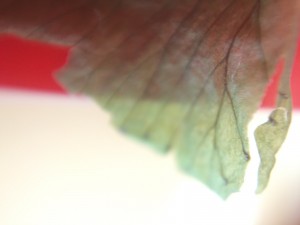
Here are a few more example photos taken with an iPhone 6. The first two are of a small breadboard and the third is of a leaf from a plant. Note that, if you were to use more lenses, you could get even more magnification. I also hope to eventually create some type of 3D model capable of being printed so that the only requirement for assembly is sliding the plexi glass in place.